
I am spending lots of time preparing for classes, but still manage to fit in time to try new things - you know what it's like. Something just grabs you and you must try it!
My latest "play" is covering journals with linen and giving them an individual look
I will shortly post a link on how to do this, but today thought I would just share how to make some teeny weeny little ribbons bows.

These are modelled on a fork and take less than a minute to make!

These are modelled on a fork and take less than a minute to make!
Materials:
1 x fork
1 x fork
20 cms x 7mm wide ribbon (I used100% silk)
Fold the ribbon around the fork - the lower ribbon should be about 3 cms longer than the top one
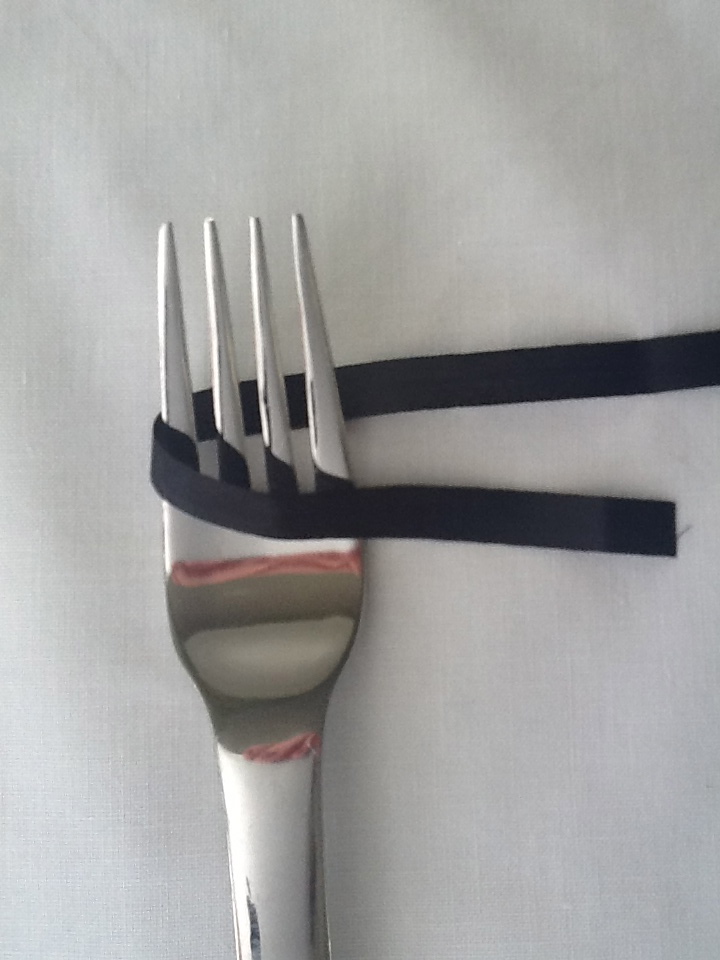
bring the bottom ribbon up and pass diagonally over the top ribbon and through the centre tines
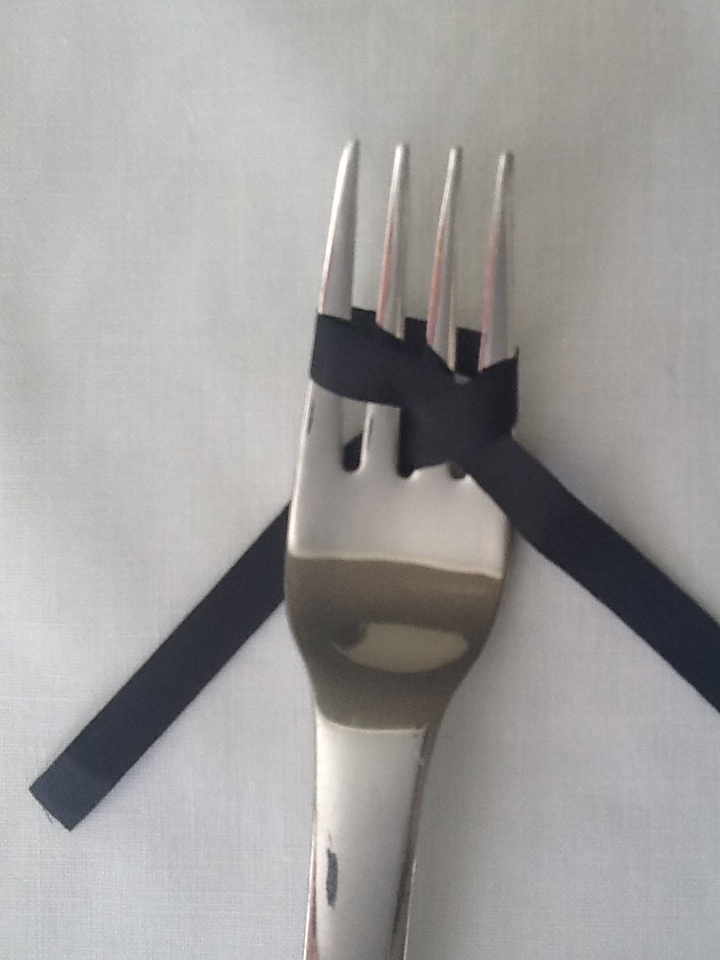
bring the other end around and over, & pass it down through the centre tine in front of the other ribbon. The 2 ends will now be at the back of the the fork

turn the fork over and tie the two ends with a single bow (pull the ribbon as tight as you can)

slide the loops from the fork

cut the ends diagonally and you have a neat little bow
I used one of these cute bows on this linen covered journal, and added some vintage lace, tatting and mother-of-pearl buttons. I copied the beautiful silhouette from the Graphics Fairy - I now have a big stash of Karen's graphics that I want to use.
The method I use to transfer the image was to copy the image on to Reynold's Freezer Paper and then burnish it on to the fabric with a spoon.
The method I use to transfer the image was to copy the image on to Reynold's Freezer Paper and then burnish it on to the fabric with a spoon.

HAPPY CRAFTING
Gill
Gill
how very clever....how very cute!
ReplyDeleteSo cute.TFS.
ReplyDeleteHappy Brag Monday.
XO Marie
This is so lovely, I have seen the fork tip before but have yet to try in myself (I dont know why I haven't tried it I'm hopeless at bows!)
ReplyDeleteI have popped by after finding your blog link on ArtDecos Facebook page.
Helen x
http://acraftykindoftruffle.blogspot.com