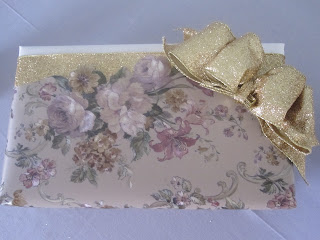
isn't this paper beautiful? It was sold as gift wrap but is, I suspect, an expensive wallpaper with lovely shiny gold flowers on a linen coloured background. I cut around the edge of the flowers, decoupage style, and used the paper for a layered effect with cream paper and gold ribbon.
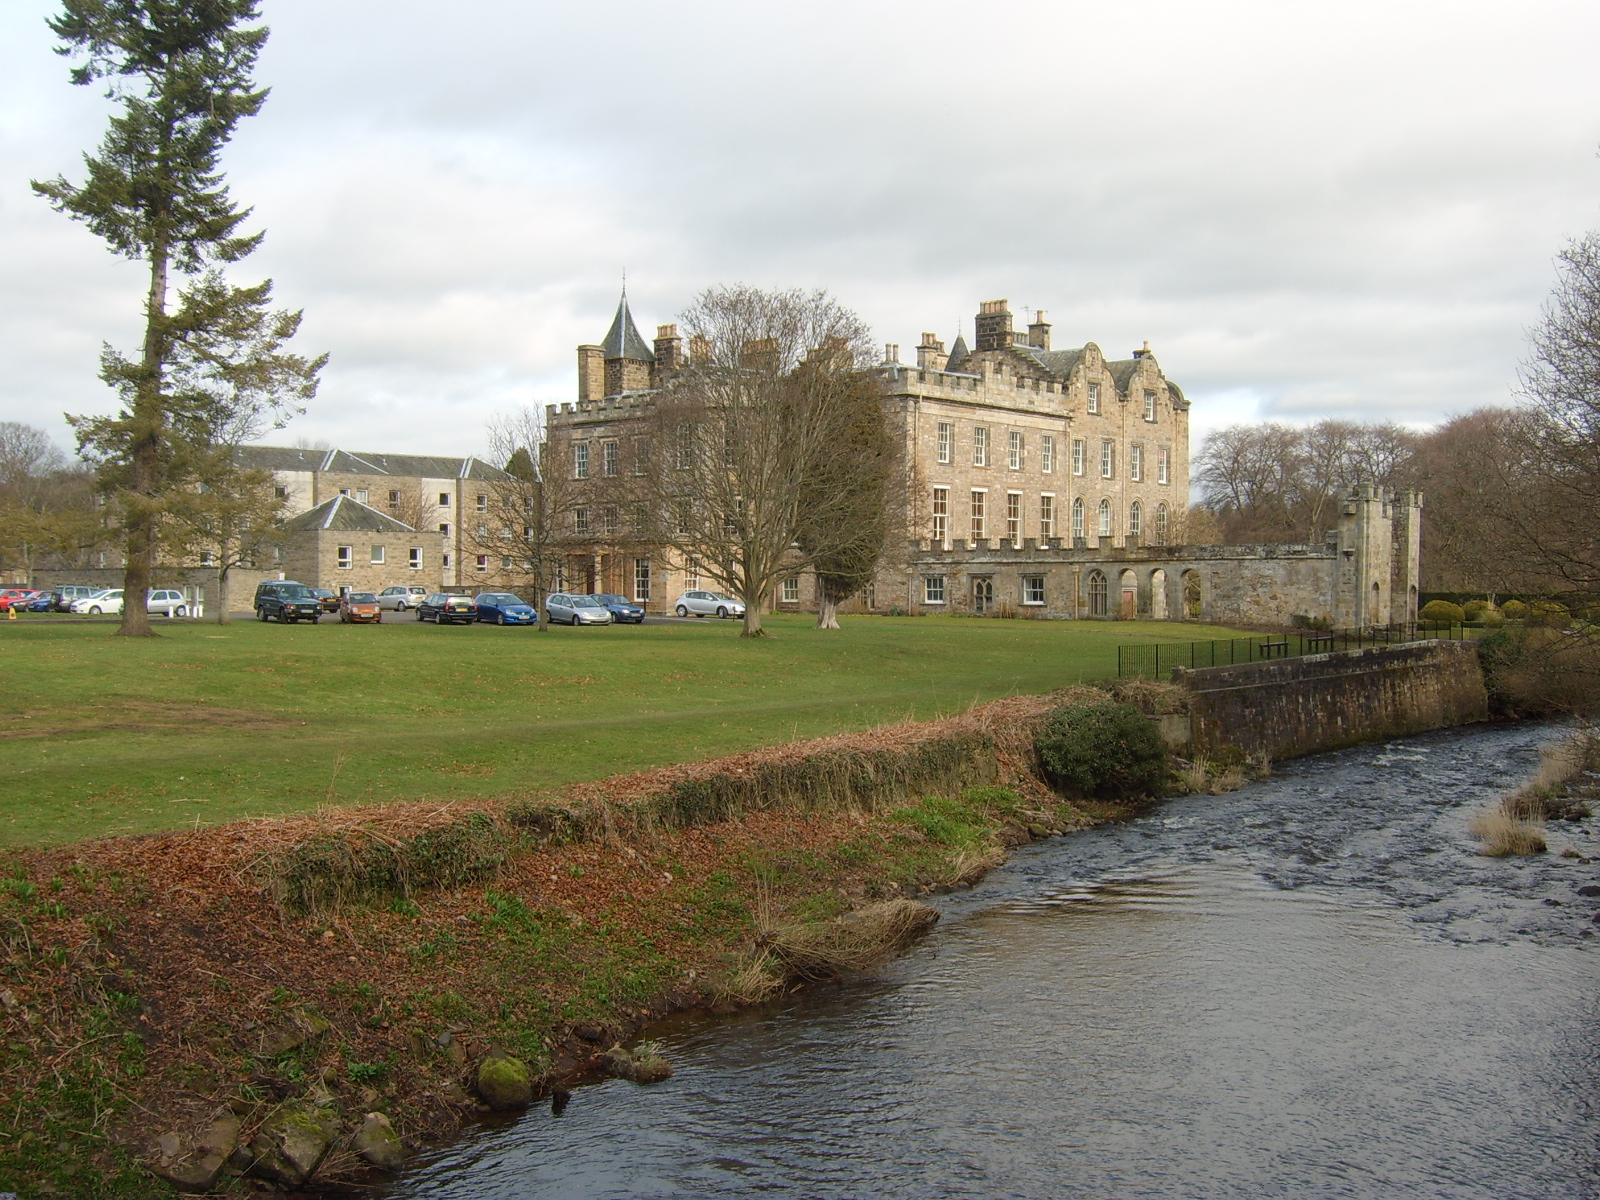
After I retired from The Scottish Office taught crafts at Newbattle Abbey College, near Edinburgh - a stunning building with a lot of history (it was founded in 1140 by Cistercian monks). Unfortunately most of it was destroyed but some original parts still remain

My workshops were held in the chinese room - what an amazing start to a new career teaching what I like doing best. These workshops led on to me teaching in numerous other venues from small church halls, the English Speaking Union, the Balmoral Hotel in Edinburgh and in many others location in the UK and Europe.
the courses at Newbattle were very popular and covered painted wall effects, decoupage (pic below) , stencilling, card making, scrapbooking, decorative painting and Christmas crafts.
It's great fun, meeting new people and creating wreaths, swags, table decorations, crackers, pot pourri, Victorian pomanders and frosted fresh fruit with edible gold leaf.

gift wrapping is also very popular - it is is, of course, something we all do for lots of special occasions and even a small present can look wonderful if beautifully wrapped. I sell on eBay and a large percentage of buyers add "beautifully wrapped" on my feeedback - we all know what it's like to bid on something that looks nice and it arrives look as if it's in a fish & chip wrapper!
for this little gift I printed a lovely silhouette, from the Graphics Fairy, on plain white copy paper and I finished it off with a narrow satin ribbon and glued on a faux pearl. So simple and yet effective - it would be adapted for a a gift for a man - maybe on brown paper tied with twine?

I like to think "outside the box"........ and, for this wrap I used a silk scarf and vintage brooch, the only other thing you need is a pony tail elastic.

lay the scarf on a flat surface and place the box on top, in the centre.
pull all of the scarf evenly to the top and secure by winding the elastic around a few times

pull the excess over to the back
and roll up and press the excess fabric as flat as possible

turn over and add a brooch, then watch the delight on your friend's face when she receives 3 presents - 4 actually as she will also get a pony tail elastic!
alternatively you could form the corners into a loose flower shape after you have put on the elastic

this is a great way to use vintage brooches and clip on earrings
and.....more wraps
a wedding gift with painted leaves, lace and silk roses

brighten up someone's day with a gift embellished with a tatted bookmark

that's us for today - all wrapped up

After I retired from The Scottish Office taught crafts at Newbattle Abbey College, near Edinburgh - a stunning building with a lot of history (it was founded in 1140 by Cistercian monks). Unfortunately most of it was destroyed but some original parts still remain
My workshops were held in the chinese room - what an amazing start to a new career teaching what I like doing best. These workshops led on to me teaching in numerous other venues from small church halls, the English Speaking Union, the Balmoral Hotel in Edinburgh and in many others location in the UK and Europe.
the courses at Newbattle were very popular and covered painted wall effects, decoupage (pic below) , stencilling, card making, scrapbooking, decorative painting and Christmas crafts.
It's great fun, meeting new people and creating wreaths, swags, table decorations, crackers, pot pourri, Victorian pomanders and frosted fresh fruit with edible gold leaf.

gift wrapping is also very popular - it is is, of course, something we all do for lots of special occasions and even a small present can look wonderful if beautifully wrapped. I sell on eBay and a large percentage of buyers add "beautifully wrapped" on my feeedback - we all know what it's like to bid on something that looks nice and it arrives look as if it's in a fish & chip wrapper!
for this little gift I printed a lovely silhouette, from the Graphics Fairy, on plain white copy paper and I finished it off with a narrow satin ribbon and glued on a faux pearl. So simple and yet effective - it would be adapted for a a gift for a man - maybe on brown paper tied with twine?

I like to think "outside the box"........ and, for this wrap I used a silk scarf and vintage brooch, the only other thing you need is a pony tail elastic.

lay the scarf on a flat surface and place the box on top, in the centre.
pull all of the scarf evenly to the top and secure by winding the elastic around a few times

and roll up and press the excess fabric as flat as possible

alternatively you could form the corners into a loose flower shape after you have put on the elastic

this is a great way to use vintage brooches and clip on earrings
and.....more wraps
a wedding gift with painted leaves, lace and silk roses

brighten up someone's day with a gift embellished with a tatted bookmark

that's us for today - all wrapped up